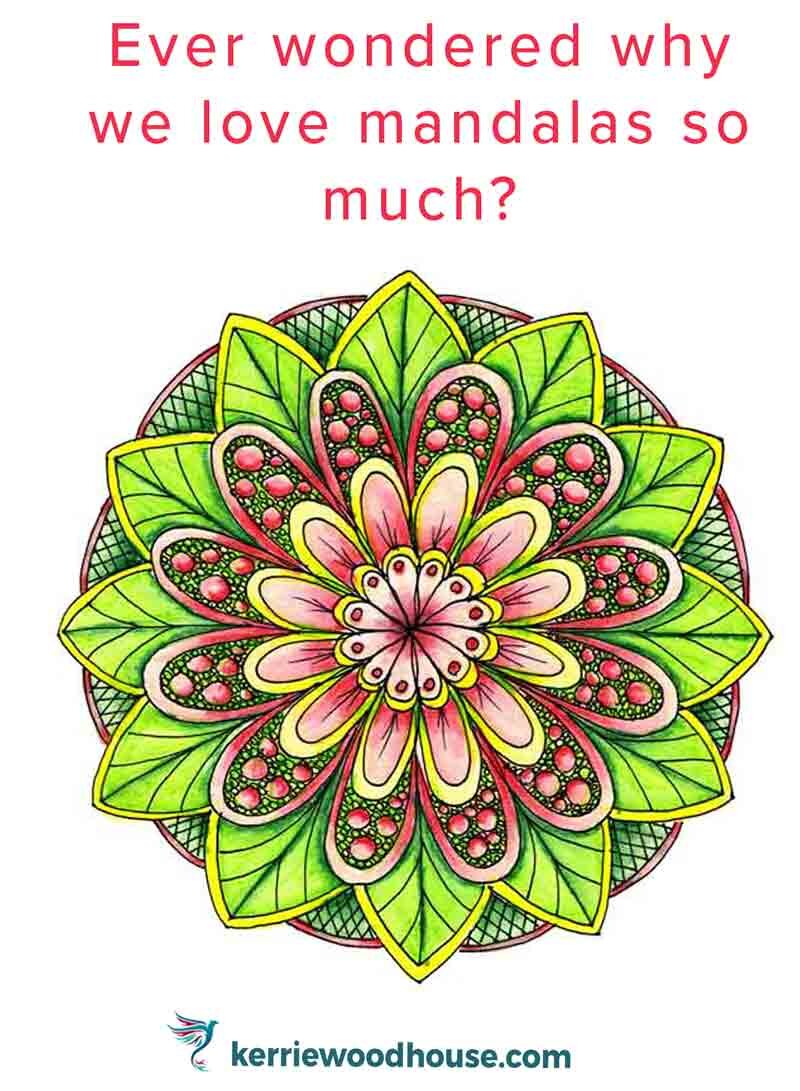
Seriously, I kept seeing these super pretty, kinda trippy flower and circle drawings everywhere online, you know? Pictures and reels popping up constantly. Stuff labeled “flower mandalas” or “zentangle flowers.” Looked complicated, honestly. But everyone kept saying it was “easy” and “relaxing.” Yeah, right, I thought. Still, curiosity got the best of me. Time to see what this flowers and mandalas fuss was actually about.
Okay, Let’s Try This Thing
Right. Needed stuff. Figured I probably didn’t need fancy things. Grabbed:
- Some plain printer paper (cheap and cheerful!)
- A regular pencil (the stubby one from my junk drawer)
- A black pen – found a cheap ballpoint, but then also found an old fine liner pen buried in a box. Score!
- Colored pencils. Had a kid’s set lying around.
- A mug from the kitchen cupboard. Perfect circle size.
First step: The Circle. Plonked my coffee mug right down on the paper. Traced around it. Boom. Got my outer circle. So far, so good.
The Flower Part – Look Ma, Petals!
Inside that circle, I kinda just started doodling. Made a tiny blob in the very middle. That’s the flower center, I guess? Then, very lightly with the pencil, I sketched some simple petal shapes around the blob. Not thinking too hard – just little curves, like a kid drawing a sun. Tried overlapping some, pointing others outwards. Kept it loose. Didn’t erase anything, just embraced the wonkiness.
Now the Inking. Picked up the fine liner pen. Started tracing over those pencil petals. Made the lines thicker in some spots, thinner in others. Felt nice, actually. Slow and steady. After outlining, I thought, “Okay, let’s make it pop.” Filled in the very center blob solid black. Then, added some simple stripes on a few petals. Just straight lines going down each petal. Easy peasy. Suddenly started looking like something!
Mandalas? More Like Doodle Around!
Here’s where the “mandala” part kicked in. Around my simple flower, I had all this space inside the big circle. This is where people add the patterns. Panicked slightly. Saw all those intricate examples online… nah. Kept it basic. Started drawing little dots around the flower. Then some tiny ‘C’ shapes. Maybe a few wavy lines linking things together.
Just started filling the space with anything that came to mind: tiny arches, short straight lines connecting dots, maybe a row of little triangles. Seriously, anything simple. The key was just repeating stuff. Put some dots, then another row of something else. It wasn’t perfect. Lines wobbled. Patterns weren’t super even. But you know what? It looked busy and cool anyway!
Splashing On Some Color
Time for the kid’s colored pencils. Picked a few bright ones – red for the petals, yellow for the center blob (over the black, it made this neat muddy yellow, whatever!), green for some background fill-ins near the flower base. Didn’t worry about staying perfectly inside the lines. Kinda scribbled lightly in the areas I wanted to color. Didn’t cover everything, just added pops of color here and there.
Staring At My Masterpiece
Finished piece looked nothing like those amazing examples online. But honestly? I loved it! It was mine. It was wonky, imperfect, and honestly kinda charming. And that whole process? Took maybe 30 minutes, tops. And yeah, it actually was pretty relaxing. Just drawing simple shapes, filling space.
So, simple explanation after doing it? Flowers and Mandalas art is basically just doodling flowers with patterns around them inside a circle. You start super simple, build it up bit by bit, and don’t stress about perfection. Grab any old supplies and see what happens!