Started my shield maiden gear hunt after seeing so many folks at the Renaissance fair looking half-baked. First step? Scoured thrift stores for base pieces – snagged a sturdy leather belt for $4 that looked Viking-ish. Rookie mistake though: bought boots without breaking ’em in properly. Two hours into wearing, got blisters the size of quarters. Pro tip: always walk miles in new boots BEFORE events!
The Trial-and-Error Phase
Tried making chainmail from scratch using soda can tabs. Looked cool online but damn, wasted three weekends cutting my fingers raw. Switched to buying pre-linked aluminum rings – way smarter. Figured out real quick that leather bracers need ventilation cuts too, unless you want sweat waterfalls down your arms in summer heat.
Top 5 Gear Wins
1. Layered Tunics Trick
- Used cotton burlap sack as base layer (washed 5 times to soften!)
- Stained secondhand linen shirt with coffee grounds for worn look
- Total cost: under $10 vs $80 costume shop prices
2. Battle-Ready Shield Mod
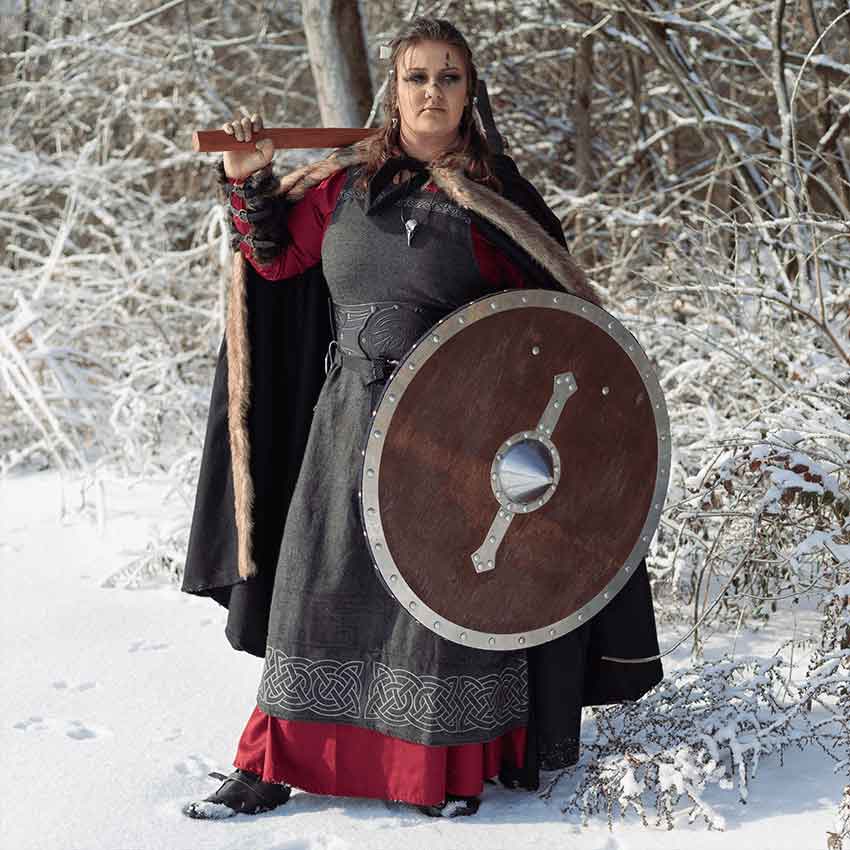
- Bought wooden kid’s shield from flea market ($12)
- Reinforced edges with steel plumbing tape
- Painted with house paint mixed with sand for texture
3. Rust-Proof Axe Hack
- Rubber training axe head ($15 martial arts store)
- Wrapped handle in bicycle grip tape
- Dry-brushed metallic spray paint for fake metal shine
4. No-Sew Cloak Solution
- Heavy wool blanket ($8 thrifted)
- Cut neck hole, used leather cord as clasp
- Smeared mud along hem for “battlefield” weathering
5. Sweatproof Armor Setup
- Hockey shoulder pads under tunic ($20 used sports store)
- Spray-painted silver, added faux fur trim
- Drilled holes for airflow – no swamp chest!
Final Touches & Lessons
Spent last weekend weathering everything with actual dirt from my backyard – looked way more legit than store-bought aging kits. Biggest win? Realizing cheap foam floor tiles make perfect boot sole grips when glued with construction adhesive. Final test was hiking 3 miles in full gear – only casualty was one loose cloak pin (fixed with superglue). Cost under $100 total while looking like $500 worth. Next project: making a helmet that doesn’t mess up my hair!