Okay so today I was itching to do something creative but didn’t wanna spend hours or get super stressed about it being perfect. You know how that feels? Stumbled upon mandala art for beginners and thought, “Hey, circles! How hard can it be?” Spoiler: not that hard once you stop overthinking it.
Getting Started: My Initial Fumble
First, I cleared off my messy desk – just shoved everything into a drawer, honestly. Found a regular pencil, a crappy eraser that smudges more than it erases, and a cheap compass I borrowed from my kid’s math set. Grabbed a blank piece of printer paper too. No fancy supplies here!
Sat down, took a deep breath, and… froze. Where do you even start drawing a circle thing? Panicked a bit and almost gave up before even beginning. Then I remembered the key tip: start with a single dot in the dead center. Just one tiny dot. Poked it onto the paper with my pencil. Easy enough.
Making the First Marks
Used the compass to draw a small circle around that dot. Huh, looks like a donut hole, I thought. Felt kinda silly. Then drew another circle around that one, slightly bigger. Did maybe 3 or 4 circles total, trying hard to keep them even. They weren’t perfect. Like, at all. Some were wobbly, some drifted off-center. But I kept going because the tutorial said embrace the wobble. Fine, wonky circles it is.

Dividing Up the Space
Next step was the scariest part for me: splitting the circles into sections. I used a ruler, kinda eyeballing it, to draw straight lines crossing through my dot center. Tried for 8 slices, like a pizza. Again, some slices were fatter than others. Big deal. This isn’t brain surgery, it’s doodling!
- Each pie slice became its own mini-canvas.
- Started super simple in one slice: drew a few small dots along a circle line.
- In the next slice, copied the same dots. Tried to mirror it. Wasn’t exact, but close enough.
- Moved out to the next circle ring. Added little curved lines connecting to the dots. Felt like drawing petal shapes. Just basic arches.
This part took patience. One slice after another. Dot, dot, curve. Dot, dot, curve. Felt almost meditative after a while.
Adding Layers and Patterns Slowly
Once the first layer of petals was done around all 8 slices, I stepped back. Looked… okay? Kinda plain. Time to build outwards. In the next ring, I drew even smaller dots. Then connected them with tighter, smaller curves. Experimented with filling in some shapes completely with my pencil to make them solid black.
Started feeling bolder. Added some small “V” shapes pointing outwards on the next ring. Then some tiny circles near the outer edge. Didn’t plan it, just went with whatever simple shape popped into my head for the next section. If it looked bad? Erased (smudged it!) and tried something else.
Finally Seeing the Mandala Take Shape
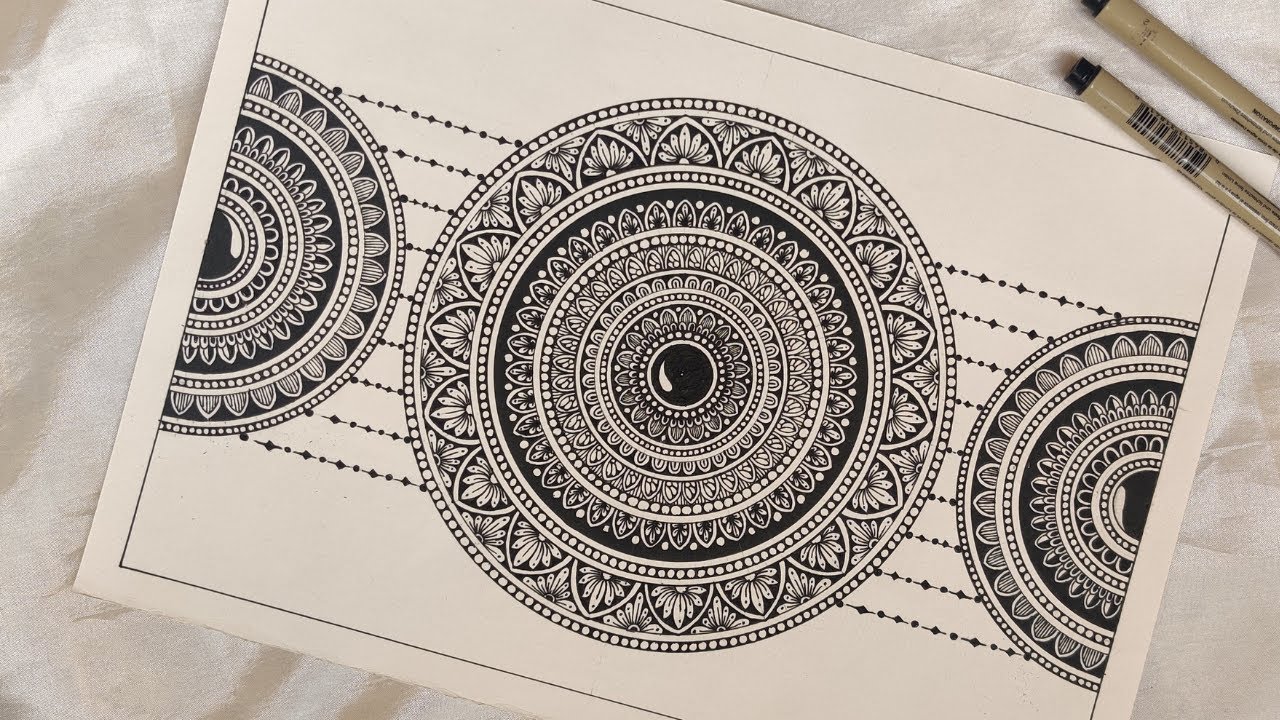
After adding maybe 3 or 4 layers of these super basic patterns (dots, petal arches, lines, some solid fills), the whole thing suddenly looked complex. Like, “Hey, I kinda made that!” complex. It wasn’t gallery-worthy. Lines were uneven. Spacing was wonky in places. But you know what? From arm’s length, it actually looked like a mandala! The repetition covered up a lot of my shaky hand.
I decided to trace over my pencil lines with a black fine-tip marker I found buried in the pen holder. Took it slow, tracing the patterns I liked. Made the design pop instantly. Made a couple of little slips with the marker – added character, right?
Stared at the finished piece. A real, actual circular design, made with my own two hands. It wasn’t perfect, but it was colorful in its simplicity (well, black-and-white). The whole process was surprisingly relaxing once I stopped stressing about every single line.
My big takeaway? Mandalas for beginners totally live up to the name. You really can start with dots and circles and make something cool. Just gotta start small, copy simple shapes, and let the pattern build itself. Messy is part of the charm. Gonna try adding some color next time!


