Getting Started
So I found this old book showing Roman coin designs at the library last week and thought “Hey, wonder if I could actually make one myself?” Dug around online, watched some hobbyist videos, and realized it’s totally doable with basic stuff. Grabbed my toolbox and headed to the garage.
What I Used
- A block of modeling clay
- Plaster powder from my kid’s craft bin
- Cheap metal alloy scraps (pewter stuff from thrift store figurines)
- Olive oil for coating
- Pencils, toothpick, butter knife
- Camping gas stove and old soup can for melting
Making the Coin Design
First pressed clay into small pancake shapes for test coins – maybe quarter-sized. Took a pencil and scratched Constantine’s profile on one side. Messed up three times until I realized using a toothpick works better for tiny details. Did “SPQR” lettering on the back side – looked wobbly like real ancient coins! Rubbed olive oil on the finished clay coin so it wouldn’t stick later.
Casting the Mold
Mixed plaster with water in a plastic cup until it felt like pancake batter. Poured over my clay coins slowly so no air bubbles trapped. Waited overnight for plaster to harden – longest night ever! Next morning, carefully peeled clay out. Saw perfect coin indents left in plaster. Did happy dance when reverse Constantine face appeared clearly.
Melting Metal
Broke up pewter figurines with pliers – felt like a caveman. Dropped chunks into soup can placed on gas stove. Stood back when melting started – some smoke came off (probably cheap paint burning). Used tongs to swirl liquid metal until smooth like mercury. Smelled weird but not terrible.
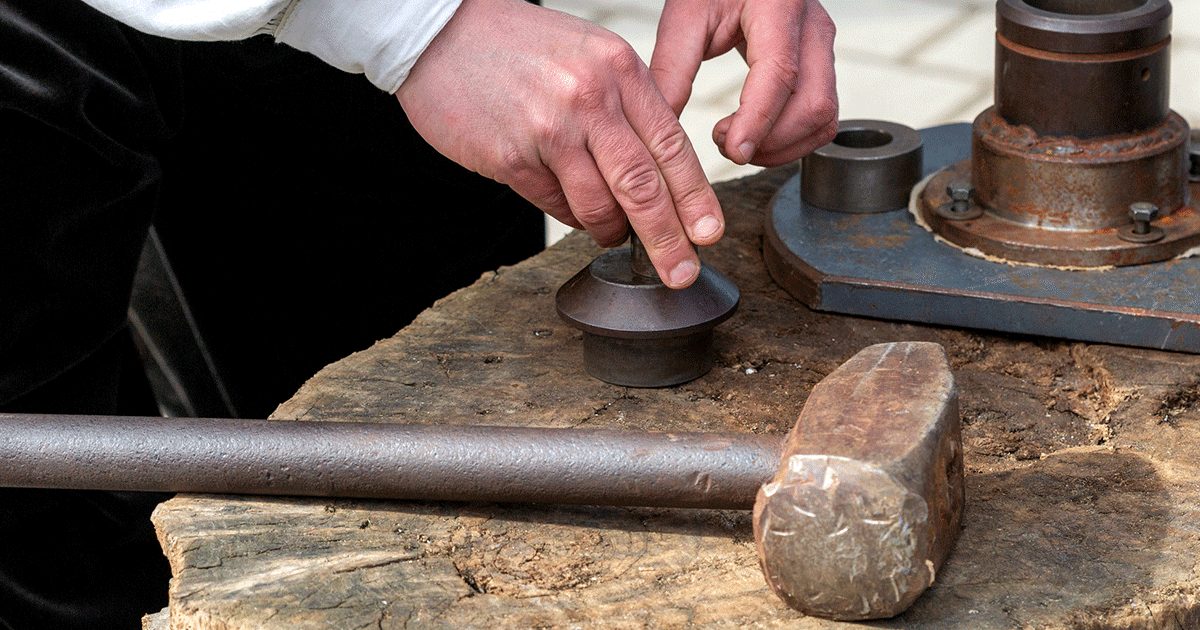
Pouring Time
Poured steaming metal into plaster molds quick and steady. Sizzling sound! Made me nervous. Waited 15 minutes tapping fingers on workbench. Cracked plaster open with butter knife – coins were stuck inside gray crumbles. Used water spray to soften plaster gunk.
Cleaning Up
Scrubbed coins under faucet with toothbrush. Edges were rough so filed them down on concrete step. Rubbed dirt on coin surface to fake ancient patina. Added vinegar soak for a faded green look like museum coins.
Final Thoughts
These came out surprisingly legit – heavy and detailed! Still got a wonky “Q” letter on one coin but hey, Romans weren’t perfect either. Total cost maybe $15 including thrift store junk. Way more fun than I expected – gonna make Caesar coins next weekend!