Alright so last weekend my kid was bugging me about wanting a knight helmet. Store-bought ones cost like fifty bucks and feel flimsy anyway. Figured, why not try making one? Total beginner move, but hey, gotta start somewhere. Grabbed some junk laying around and dove in.
The ‘Hmm, Maybe This’ll Work’ Phase
First thought was cardboard. Lots of it. Found this huge Amazon box from last month collecting dust. Perfect. Figured I’d need something stronger for the front though. Remembered some plastic buckets in the garage… you know, the cheap kind for mixing stuff? Yeah, that became my visor.
The ‘Okay Let’s Get Messy’ Part
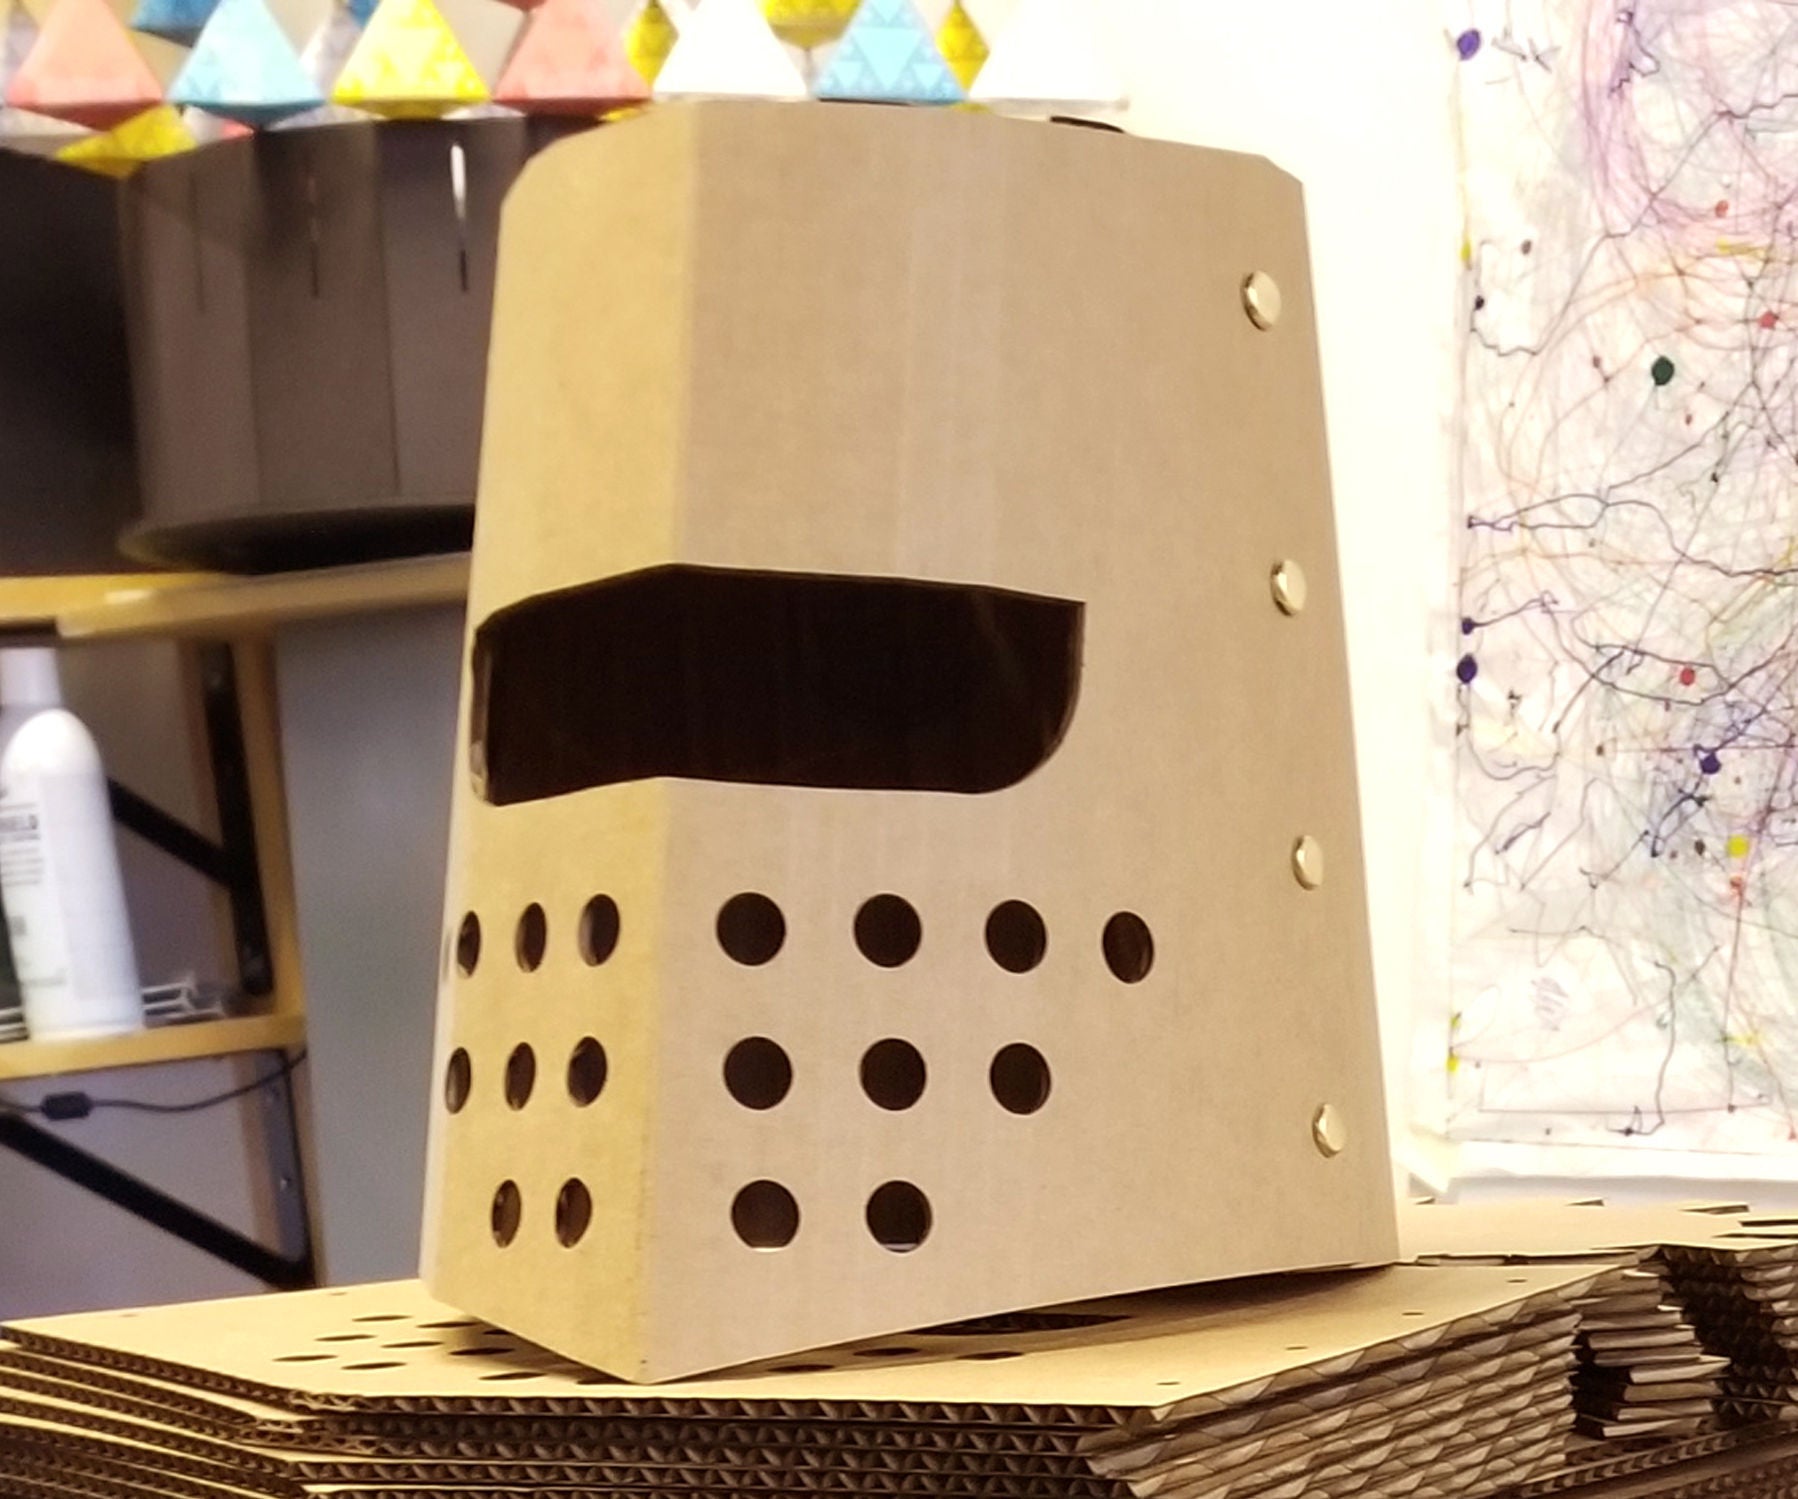
Started by trying to trace a helmet shape on the cardboard. Big mistake. My head isn’t perfectly round! Solution? Wrapped my head in wrapping paper like a mummy, taped it, carefully slid it off, and cut along the seam. Boom! A basic pattern. Cut two of those monsters out. Glued them together with a crazy amount of tacky glue and duct tape for extra stiffness. Left an opening at the bottom for my fat head. Took like three tries to get it big enough.
Dealing With That Plastic Bucket
Next nightmare: the visor. Took the bucket, cut the bottom off to make a tube. Then needed eye holes. Drew two slits, grabbed a box cutter. Cutting through that flimsy plastic was way harder than I thought. It kept cracking and looking jagged. Used sandpaper like mad to smooth the edges – felt like forever. Then came attaching it. More duct tape disaster! Tried taping it straight to the helmet… looked lopsided and felt wobbly. Finally drilled small holes through the plastic and the cardboard underneath, zip-tied it super tight. Ugly? Yep. Solid? Absolutely.
Stuff I Actually Used (My ‘Armory’):
- One gigantic cardboard box (Free armor!)
- An old, kinda flimsy plastic bucket (Mine was Home Depot orange, classy)
- Duct tape, loads of it (Obviously)
- Gorilla Glue Tacky Glue (This stuff held surprisingly well)
- Sharp scissors & box cutter (Be careful! Sliced my thumb once)
- Coarse sandpaper (For smoothing angry plastic edges)
- Zip ties (The real hero holding the visor on)
- Metallic grey spray paint ($5 can from the hardware store)
- Sharpie (For marking cuts)
The ‘Looks Terrible, Need Paint’ Stage
Raw cardboard and orange plastic bucket? Yeah, no. Spray paint time! Did this outdoors. Coated the whole thing in grey. The cardboard sucked up the first layer fast. Needed like three coats to look even semi-metallic. Let it dry overnight. Smelled awful. Put some scuffed lines and dents on with black paint for a ‘battle-worn’ look. Which honestly just hides the mess I made.
Final Result? Weirdly Okay
Slipped it on. Fits snug. Vision through the slits is terrible, but hey, knights didn’t need peripheral vision, right? Kid freaking loved it. Played castle siege all afternoon. Is it perfect? Hell no. The zip ties stick out like crazy. One eye slit is slightly higher than the other. And if it rains? Forget it, soggy cardboard knight. But hey, total cost was basically just the spray paint and duct tape. Maybe five bucks? Beats fifty. Felt awesome building something dumb but functional.
Honest Truth: It’s far from perfect. If you bump it hard, cardboard dents. The plastic visor feels…cheap. But for a first-timer wanting something quick and hilarious? Totally works. My kid thinks I’m a knight-making genius. Worth the sore thumbs.